Automated Test Runs
Automated test runs can be submitted easily either via simple API request such as with the cURL library, or via our simple command line utility test-track-cli.
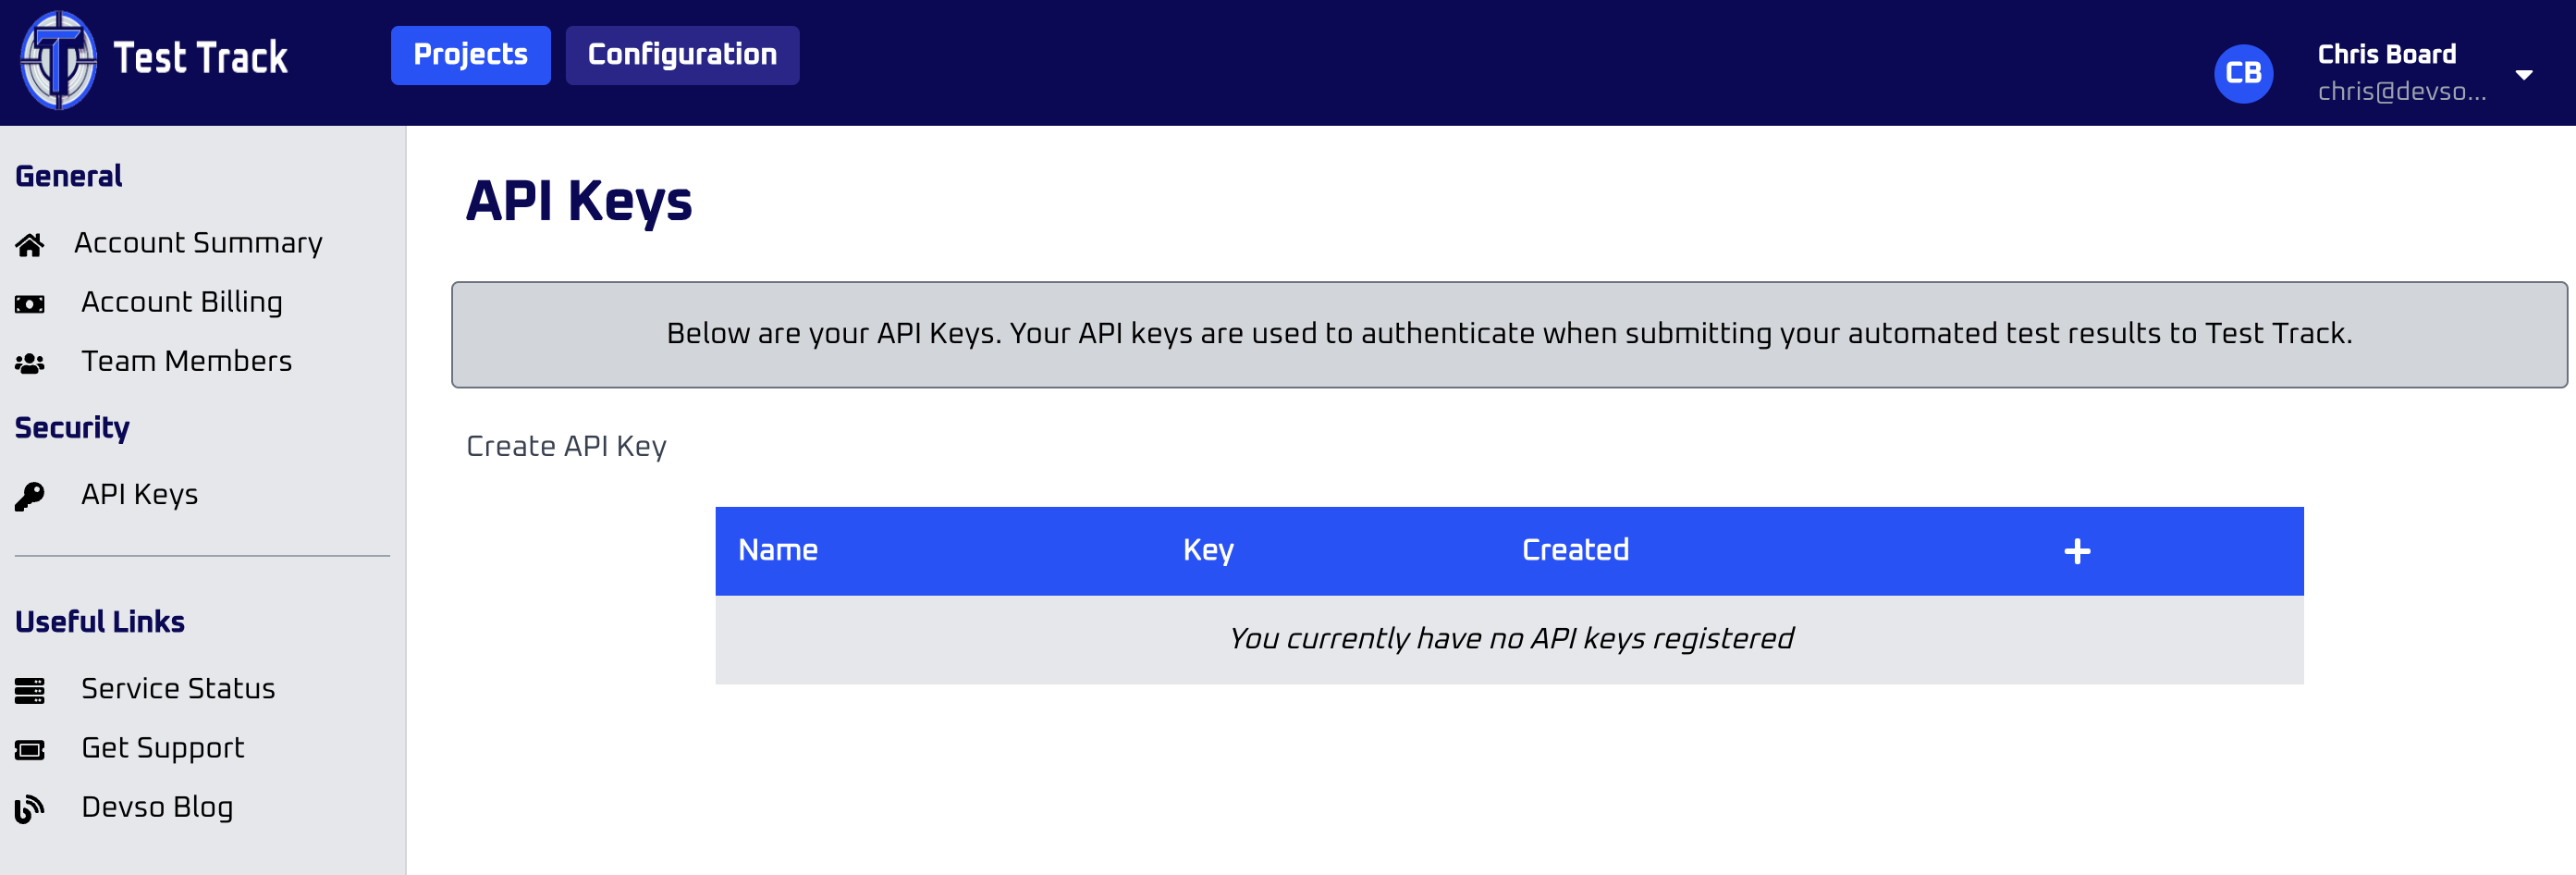
The first thing you need to do is to generate an API key. This can be done by going to "Confiuration" in the top of the screen, and then click on "API Keys" in the left hand sidebar as shown in the screenshot below
Click the "Create API Key" and a modal should be displayed where you can then enter the name of the API key and click "Create API Key" in the modal.
There is no restriction on the API, it can be used by any client for any project however, our recommendation would be as a minimum to ceeate an API key for each project, or each CI/CD server. That way, should a key ever get compromised it only affects that one project or server.
Note, that API keys are only used for submitting automated test runs, even if they are compromised, they cannot be used to gain access to any of the data within your account.
Once the API key has been created, you should see it listed with an icon next to it to be able to copy the API key to your clipboard. An example is shown below.

Then go to your project within Test Track, and at the top of the overview page there is an 8 digit number. This is your project ID that you need to use to submit the automated test run.
Supported Test Results
Test Track supports submitting automated test runs from CI/CD servers by generating a JUnit XML file. JUnit is a standard test result format that most CI/CD servers support generating.
Using Test Track CLI
Ths simplest way to submit the automated test run result is to install test-track-cli via npm using the command
npm -g install testtrack-cli
You can then submit the automated test run with the command
test-track-cli --api-key <API KEY> --project-id <PROJECT ID> --file /path/to/file/result.xml
For example, it might look something like this
test-track-cli --api-key dofosnbssnvs --project-id 12345678 --file /my-proj/test-results/results.xml
Using cURL
To submit to the API directly, such as using cURL, you need the API key and project id as mentioned above, but the file contents of the JUnit XML file needs to be base64 encoded. For example, the cURL request would look something like:curl --location 'http://app.test-track.dev.local/backend/api/automated-test-run' \
--header 'Accept: application/json' \
--header 'Content-Type: application/json' \
--header 'Authorization: Bearer <API Key>' \
--data '{ "project_id": "89645207",
"file_content": "base64 encoded file"
}'
For example it might look something like the below:
curl --location 'http://app.test-track.dev.local/backend/api/automated-test-run' \
--header 'Accept: application/json' \
--header 'Content-Type: application/json' \
--header 'Authorization: Bearer dofosnbssnvs' \
--data '{ "project_id": "12345678",
"file_content": "PD94bWwgdmVyc2lvbj0iMS4wIiBlGLTgiPz4KPHRlc3RzdWl0ZXM+CiAgPHRlc3RzdWl0ZSBuYW1lPSIiIHRlc3RzPSI5MiIgYX=="
}'
Response Codes
No matter whether you use the test-track-cli or submit to the API directly, you'll get an HTTP response code which are described below:
- 200 OK: This is what you should always get back, within a couple of minutes of submitting you should see your automated test run appear under your project.
- 403 Forbidden: Your API key wasn't submitted, or API key provided doesn't match your account and project
- 404 Not Found: Your 8 digit project id was not found against your API key
- 503 Service Unavailable: An internal error has occurred within our API. If you continue to see this, please raise a support ticket at http://support.devso.io